BACKING - KODA
HORSE: Koda, 9yrs, Mustang gelding gathered in 2020 at 7yrs old from Eagle, NV.
SITUATION: Backing a fearful, reactive, sensitive mustang for the first time.
GOAL: Koda chooses to line up at the mounting block, is calm and relaxed during mounting, both bareback and with tack, can be dismounted safely, responds to rein cues, and can take a few relaxed steps under saddle. -
![]()
Step 1: Establishing Baseline
After many months of gaining Koda’s trust to accept physical contact and body weight, he was showing persistent signs of tension to the point of a freeze response when I put my leg on his back. Koda is fearful of being steady pressure and being confined, so the combination of the weight of my leg and the feeling of it on his opposite side was pushing him over threshold. I realized that we needed to go back to the beginning and start over even more gradually, ensuring relaxation at every step, if I was ever going to be able to sit on him and get a few steps under saddle.
-
![]()
Step 2. Classical Counterconditioning
To begin this case study, I knew I had to start with his emotional response to body weight. I wanted to find a place of calm relaxation at the mounting block and stay there without asking for any behaviors. Just 6-8 weeks prior to this, I could not even touch Koda while he was eating. He would throw his head up and wait for me to stop touching him before dropping his head to eat again. So we had been working on classically pairing grooming with relaxed eating. Now I wanted to do introduce two new stimuli; the mounting block and my body weight. Combining the brushing and eating with the leaning worked well. I then put the brushes away and kept stroking him with my hand while leaning on him from different levels of the block. He kept eating the entire time and I never sensed any prolonged tension. He even shifted his weight around a few times to get the flies off his legs but never moved away from me.
-
![]()
Step 3. Flag Work
In preparation for mounting block work, I wanted to test Koda’s tolerance to things appearing suddenly in his opposite eye. I was getting a consistent “no” from Koda every time I tried to rest my leg on him while at the mounting block. It seemed that the sudden appearance of my foot/boot in his left eye was causing him to move away but the classical conditioning set up I was using could have also been causing conflict for him. He was not reactive to the flag so I decided to go back to an operant conditioning set up for mounting work.
-
![]()
Step 4. Operant Counterconditioning
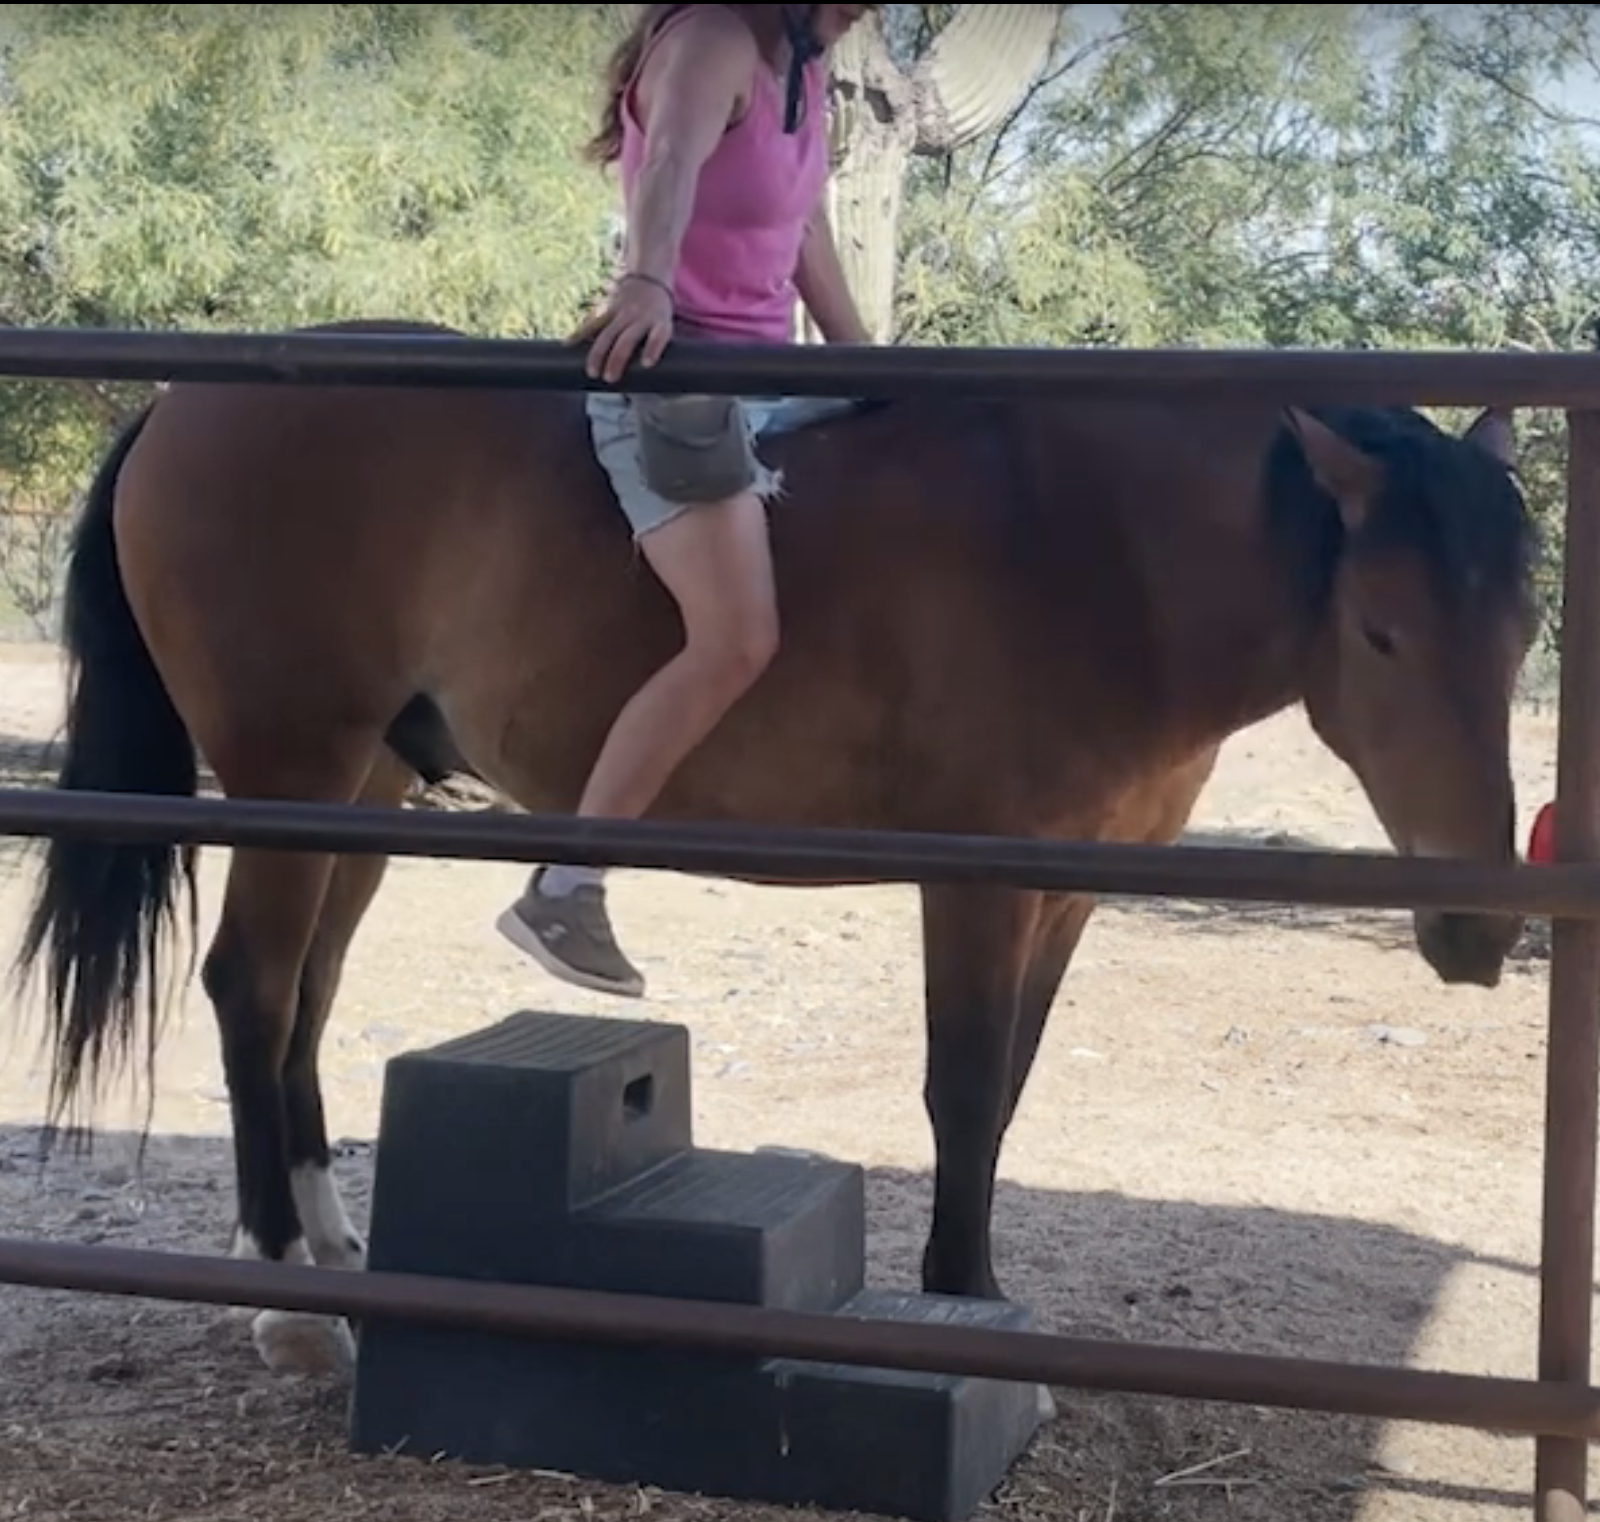
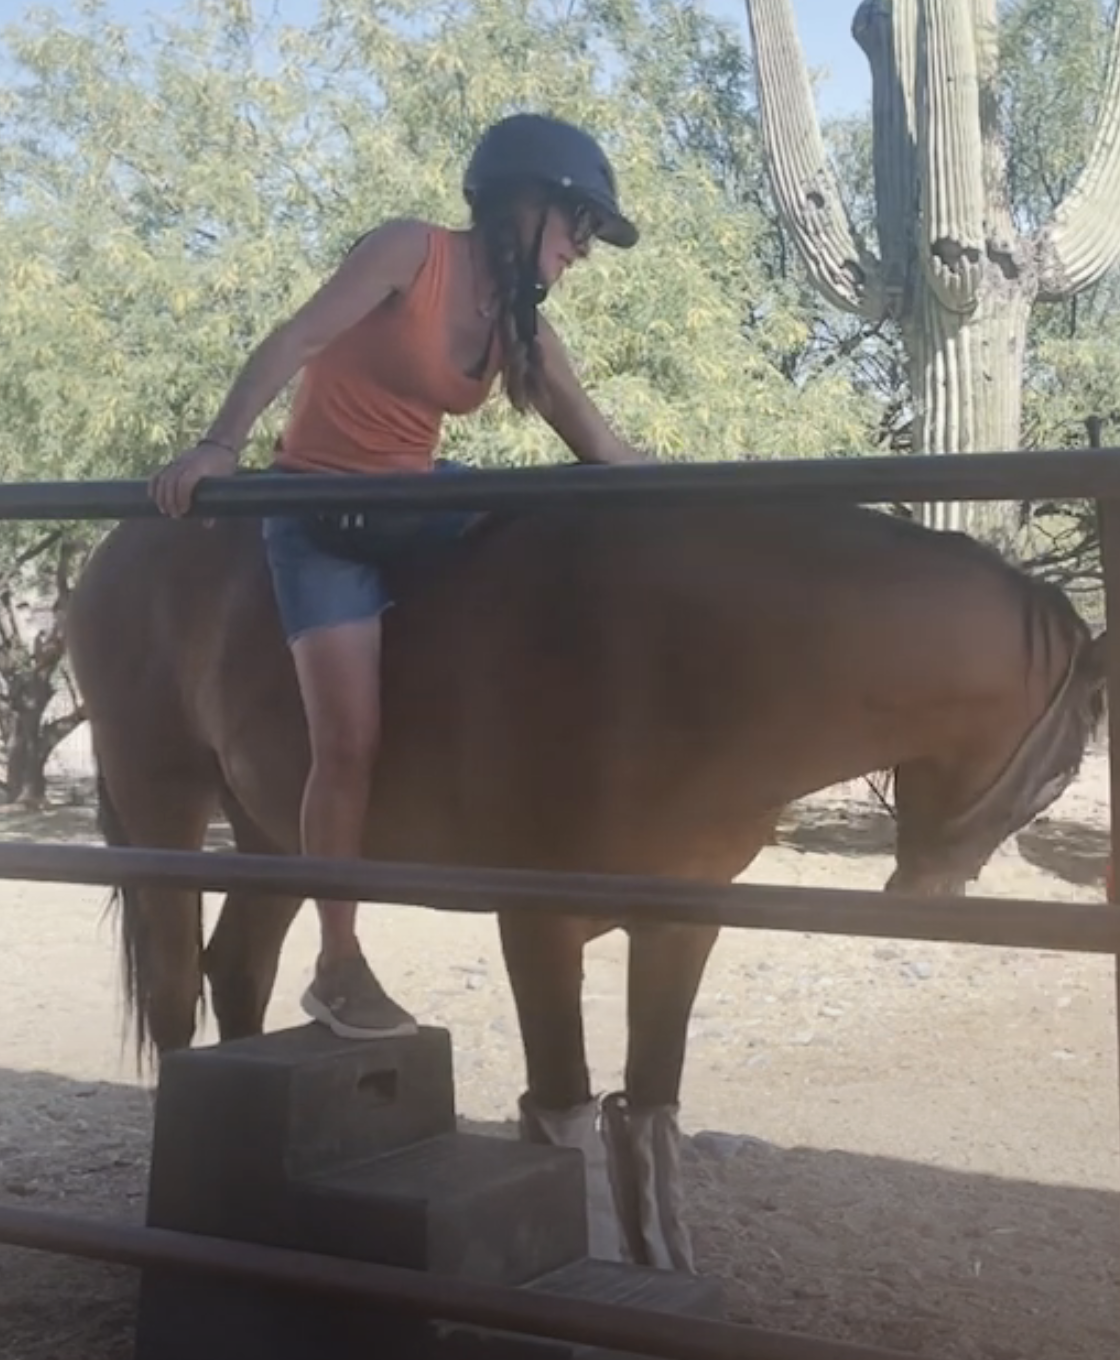
We then shifted to using a new set up for mounting prep where I have him positioned along a fence which allows me to feel more stable when I am putting a leg over him because I have something to hold on to if he moves away from me. The target is there for him to touch as a start signal and hold his nose to while I am placing my weight on him which is reassuring and calming for him. I am also using body targeting as a start signal — if he moves his flank into me he is ready for me to lean over him . He is marked and rewarded for relaxing and dropping his head.
-
![]()
Step 5. Adding Body Weight
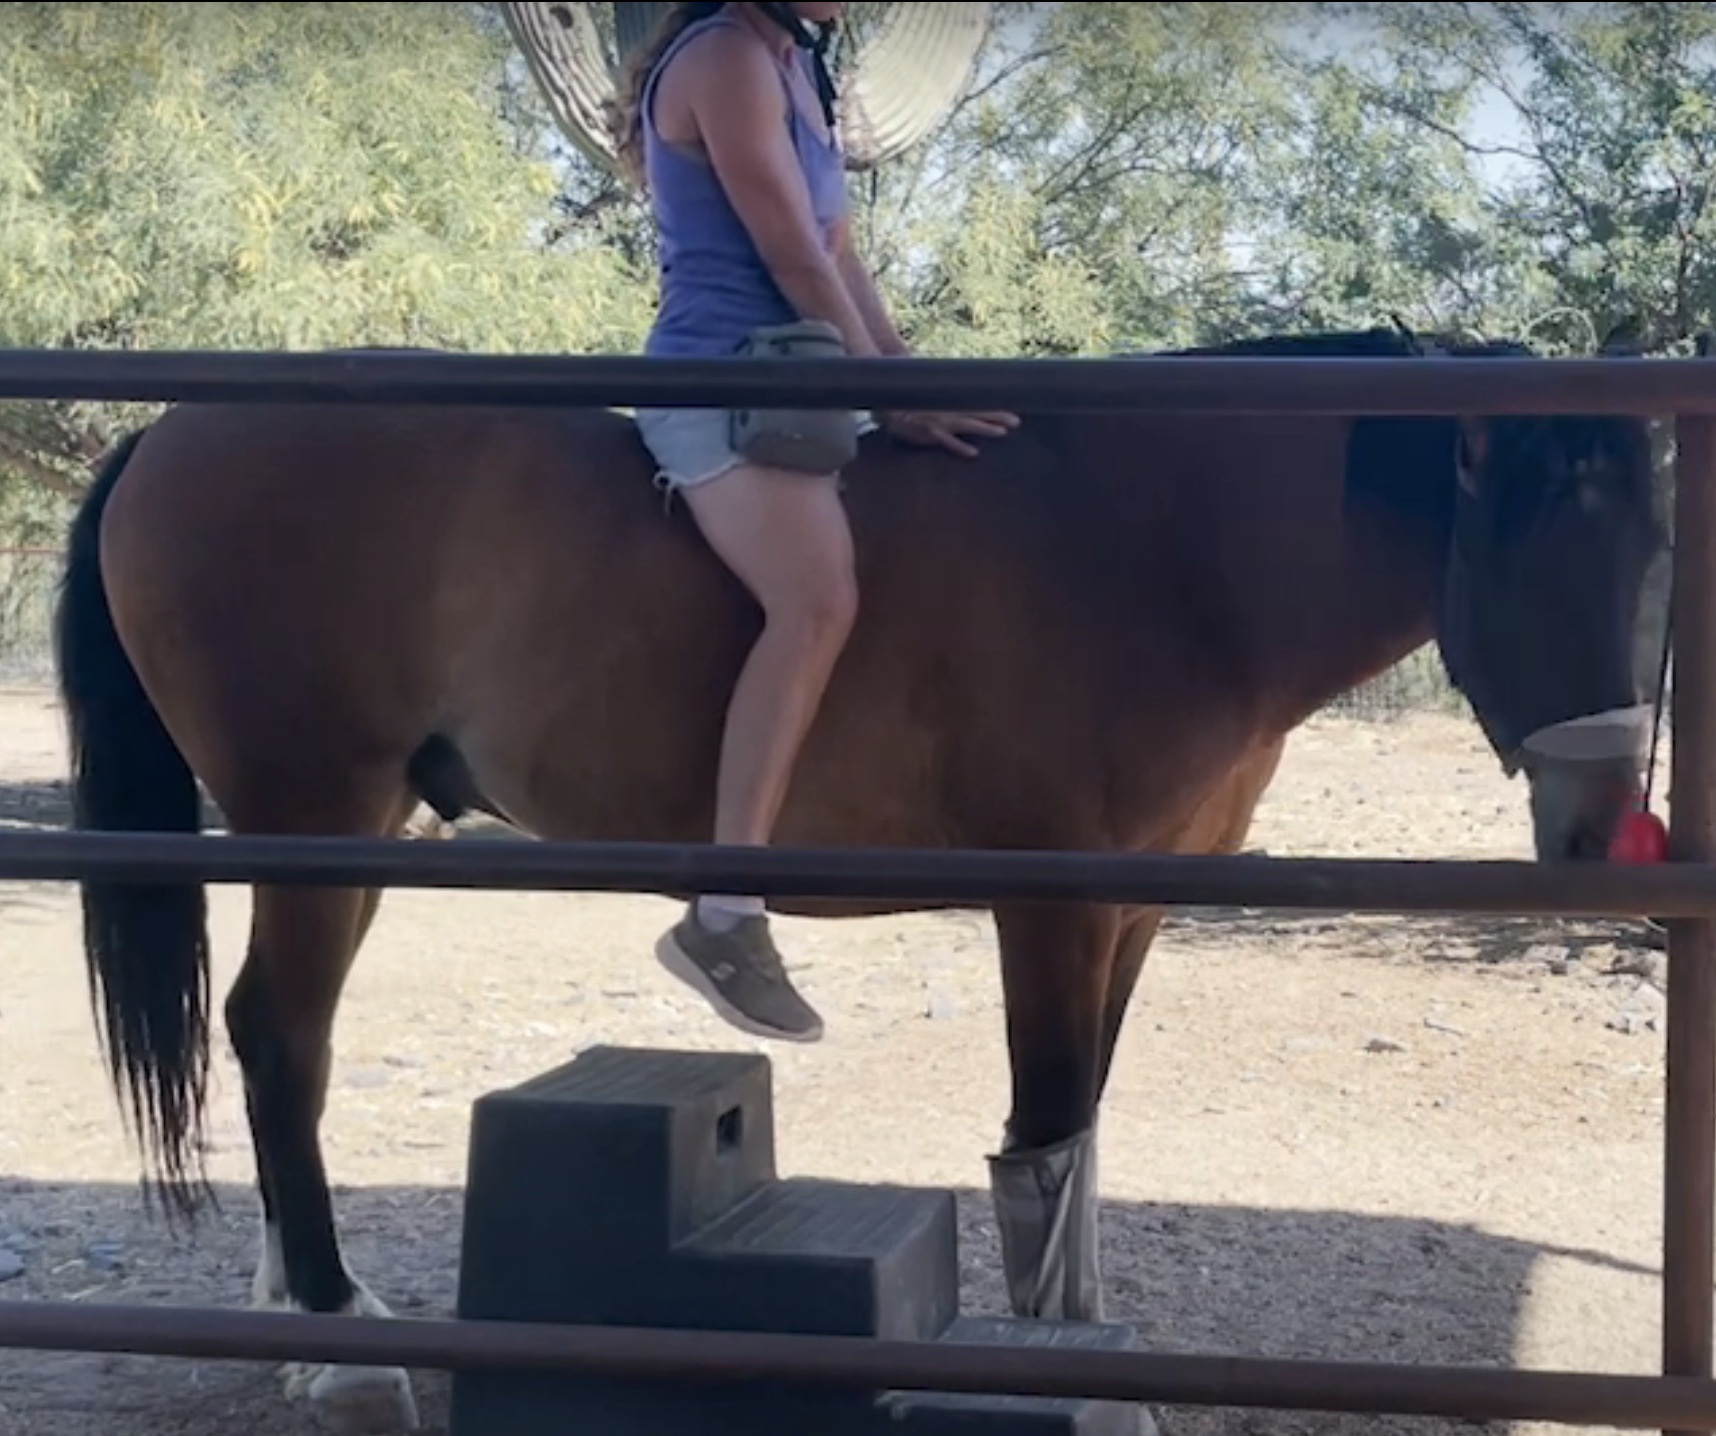
I am working now on helping Koda find relaxation while more of my body weight is on his back. I am lifting my foot off the block while keeping myself still stabilized with the fence rail. I want him to feel my full weight and my legs on both sides, but still be able to pull myself off easily if he moves away from me. There were several moments where he showed some tension but he was able to work through it and relax. We will keep working on this gradually getting myself more centered and balanced, and then I hope to be able to put both hands on his withers and actually sit on him properly.
-
![]()
Step 6. Centering Weight
I felt comfortable enough in this session to take my hand off the fence and fully center my weight on Koda’s back with both hands on his withers. There was one loop where he seemed tense, but he quickly relaxed again and told me with his consent cue (moving into me) that he wanted to try again. At the end of the session we got a long, lovely sit that felt amazing. All the work with close contact and the fly sheet helped prepare for this. Just a couple of months ago I had given up on the idea that I would ever be able to sit on Koda, now I feel there could be a glimmer of possibility.
-
![]()
Step 7: Introducing the Saddle
We introduced the saddle at this point, as a break from the mounting block, and also to see if he could generalize our previous work with the fly sheet to the saddle. In the past Koda would always walk away when he saw me with the saddle. I expected similar behavior this time, but he was completely relaxed with it immediately, he didn’t even raise his head when I brought it out. I set up the training session intentionally to mimic how we first interacted with the fly sheet in the hopes that he would generalize the behavior and it worked perfectly.
-
![]()
Step 8: Carrying Brody
We moved on from the saddle to Brody the Bear. The goal was to reward Koda for carrying Brody on his back calmly and responding calmly when Brody slides off his back and lands on the ground. Specifically I asked Koda to stop, target and stand calmly by Brody when he fell off. Koda has seen Brody before so he was comfortable with him.
-
![]()
Step 9: Feeding While Mounted
We’ve done several sessions now where I mount, mark him for a relaxed hold on the target, and then dismount to feed. In this session we are working on building up the length of time I am sitting on his back by marking and feeding while staying mounted. I am shifting my weight over to keep a toe on the mounting block just so I don’t get unbalanced and spook him. I also want to make sure I have an exit plan if he does choose to leave. Overall, I am very happy with his progress and his eagerness to participate. He remained connected to me and calm even with my weight shifting.
-
![]()
Step 10: Bending to Left
My next step for mounting work was despooking. He needs to be okay with me feeding on both sides, dismounting off both sides, dropping things around his feet while mounted, shifting my weight around, touching all over.
I knew the first challenge would be feeding on the left side. Reaching over his back to feed him on the left has always difficult, he would become anxious and unbalanced, jerking around and grabbing impatiently for the food with his teeth, or stepping away from me after the click. Even presenting the target over his back to his left side was stressful for him and he would typically just leave.
So instead of trying to feed him on the left, I decided to ask him to target a crop, however I was still getting tension and imbalance when I clicked him for targeting the crop on his left (presenting it from the right). The click and praise was too stimulating. So we changed the criteria to ask for a soft nose target to the crop then I would give gentle verbal praise and wait until he is calmly standing facing forward again before marking and delivering the food reward. This worked much better. After several tries, we were now getting a calm soft nose touch on the crop to the left and then a calm stand facing forward. I gradually built it up to repeating this loop while sitting on him.
-
![]()
Step 11: Mounting from Left
I want to make sure Koda is comfortable with me mounting and dismounting on his left. His left side has always been challenging to work on, especially at the mounting block. This photo shows the first time I sat on him fully from the left (without holding the fence or resting on the block). We built up to this over 3 days. I plan to continue using this set up for several more days until I feel like he is relaxed with me mounting and sitting on him from both sides. I have also been working on mounting him backwards, on his right.
-
![]()
Step 12: Emergency Dismount
We worked on this behavior for 10 days. I wanted to be able to get off safely without the mounting block, which means I needed to be able to get off on his left side. This was a pretty scary idea as I was unsure how he would react to the sensation of me sliding off his left (scary) side to the ground. We followed this progression plan:
1. Switching sides and mounting from the left and dismounting to the block
2. Dropping his fetch toy from the mounting block to the ground by his feet on the left side and then dropping it all around him while at mounting block
3. Hanging Brody the Bear over his back from the mounting block and dropping it to the ground on his left side
4. Placing another mounting block on his left side and laying over his back from the left and sliding off to the mounting block
5. Moving the tall mounting block over to his left side, mounting from the fence on the right and sliding off onto the tall mounting block on his left
-
![]()
Step 13: Shaping Head Down
Now that we have relaxed mounting and dismounting to the left, I wanted to shape a lower head position to encourage relaxation and also reinforce a position that prepares him posturally for movement. Koda tends to throw his head up when I mount and keep it high with hollow back so I want to try to resolve that behavior.
In this session, I am starting to shape a low head position at the mounting block as we progress through the movements involved in mounting. My goal is for him to keep his head low throughout the entire mounting process and also while I am sitting on him.
-
![]()
Step 14: Adding Movement
We’ve now been working on mounting with reins and taking some steps. We built up to this as follows:
• Practicing all known mounting behaviors with reins on
• Bending and backing using reins with me standing on mounting block
• Backing up and stepping towards target from mounting block, then with one leg over, then laying over back
• Finally, backing up and stepping forwards while mounted, and dismounting to ground.
Summary & Conclusion
After 2 months of gradual progression as described above, we achieved our goal of getting several calm steps under saddle from the mounting block to the stationary target. This is a horse that was considered to be unrideable and although Koda will probably never be a “riding” horse, due to an unwavering fear of strangers and any unexpected stimuli from the “outside world”, this case study shows the power of Connection Training. With focus and planning, we were able to completely change Koda’s emotions around a complex combination of stimuli that were persistently aversive and fear-inducing.


